If you’ve been wanting to do some wet felting with wool, creating a
pouch using a river rock or beach stone as a form is a fun project to
with. This is a great project for adults and children alike. It
involves a nature outing as well, which is an added bonus. I usually go
to a river with rocky gravel bars when the water isn’t too high for them
to be exposed. This can be incorporated with a summer trip to your
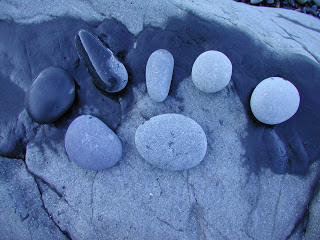
favorite swimming hole, or a fall river hike. Look for smooth rounded
rocks of harder composition, like granite for example. Avoid soft rocks
with lots of clay or sandstone, as they might sluff off in your wool
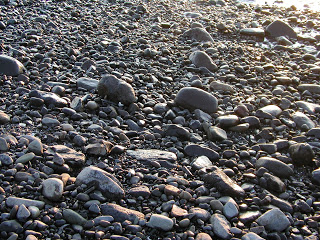
while you’re working with them. Another good place to look is on a
beach, especially near the mouth of a stream. I try to collect a variety
of shapes to make different forms. Make a day outing of it and bring a
picnic!
Next comes the crafting fun. Gather together your stone of choice, some
wool roving, a button, dishsoap (I like to use Dr. Bronner’s in a good
smell like lavender or eucalyptus), a
a dish of warm water, and towels to spread out underneath. First wrap
the wool all around the stone, packing it tightly and making sure to
thickly cover the whole surface. Then, spread out a towel and put your
dish of warm water on it. Use your fingers to scoop and sprinkle warm
water on the wool covered stone until it is fairy wet. The squirt a
little soap on all around it. Now put the stone in the plastic bag and
rub it between your hands all over, turning it around and around for
about 10 minutes. Then look to see how bonded together the wool fibers
are. You can add more soapy water and keep rubbing it until it has
become more like wool fabric. Then cut a slit off to one side of the top
and pull the stone out. You can rub the raw edges between your fingers
with soapy water to felt them up a little too. Then stretch and pull the
top flap down so it folds slightly over the side of the pouch. At this
point I let the pouch dry for about a day. Then cut a small button hole
slit in the top flap and sew a button on beneath it. Voila! You have a
handmade pouch. Try this with your different shaped stones to get
different shaped pouches. Let your creativity go wild!

Leave a Reply